 User Documentation
 Images, videos, files, and other media are managed with Joomla's Media component. In this tutorial we will use the Media component directly to upload and organise content that will later be used when creating articles. Other tutorials will demonstrate how it is used when working with articles.
In this tutorial we will use the Media component to organise a collection of images and a file to be used in a future article on telescopes.
Prerequisites
- 1 Tutorial Introduction covers where to run your tutorial and administrative access.
- We will be using three images and a PDF file for the tutorial. Right-click each image and save it to your computer. Note: These are deliberately not resized yet — we'll resize one of them ourselves later in this tutorial.


Taking a Closer Look: Examining Light and Telescopes (PDF)
Steps
Creating the Telescope Images Folder
- Log in to Joomla backend and navigate to the Home Dashboard.
- In the Administrator Menu, click Content > Media. Result: The Media component appears. The interface resembles that of a file manager, with a file tree on the left displaying two main areas, images and files.
- Click on images in the file tree. Result: Images is highlighted in the file tree to indicate it's selected, and its contents and sub-folders appear in the area to the right. Above the contents is a toolbar (the top bar) with controls to create folders and upload content.
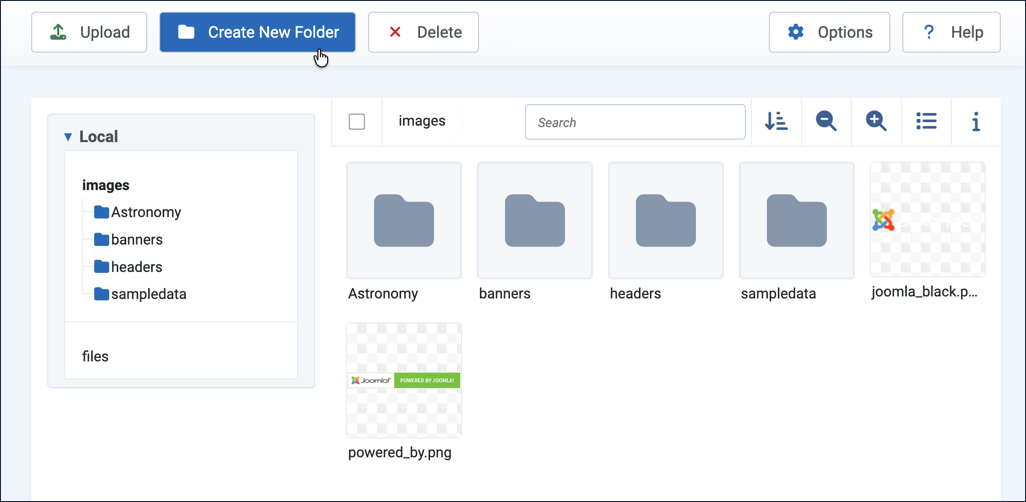
The images folder selected, with the Create New Folder button in the top bar - Click Create New Folder at the top of the page. Result: A popup appears.
- Enter a folder name, Telescopes, and click Create. Result: The new folder appears both in the file tree on the left, and in the contents of the images folder on the right. Note: Clicking on the folder (or any image) in the content area selects it for working with the item (e.g. renaming or deleting); clicking on a folder in the file tree navigates into that folder.
- Click on the new folder in the file tree. Result: The folder is highlighted in the file tree with an open-folder icon, its contents are displayed on the right (empty), and a breadcrumb navigation appears in the toolbar.
- Create two sub-folders.
- Click Create New Folder again.
- Enter a different name for each folder, e.g. Optical Telescopes and Radio Telescopes.
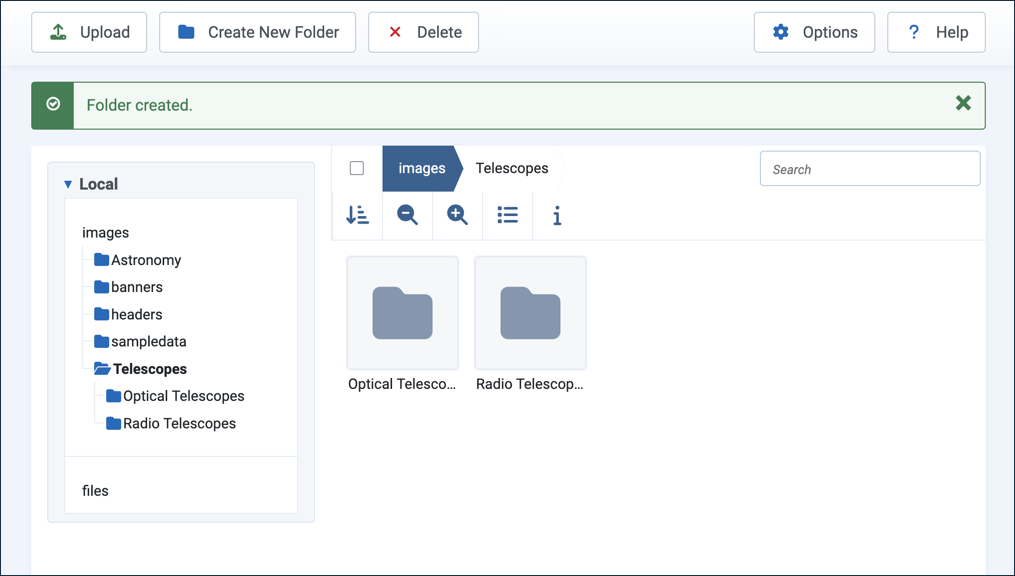
The Telescopes folder with its two sub-folders - Navigate down into one of the new folders by clicking on it in the file tree, Optical Telescopes. Result: The breadcrumb navigation in the toolbar now contains links to navigate back up the tree.
Uploading Images
- Select a folder in which to upload images, images/Telescopes/Optical Telescopes.
- Click the Upload button at the top of the page and follow the prompts to select and upload an image. Result: The new image appears in the content area.
- Upload more images by dragging and dropping.
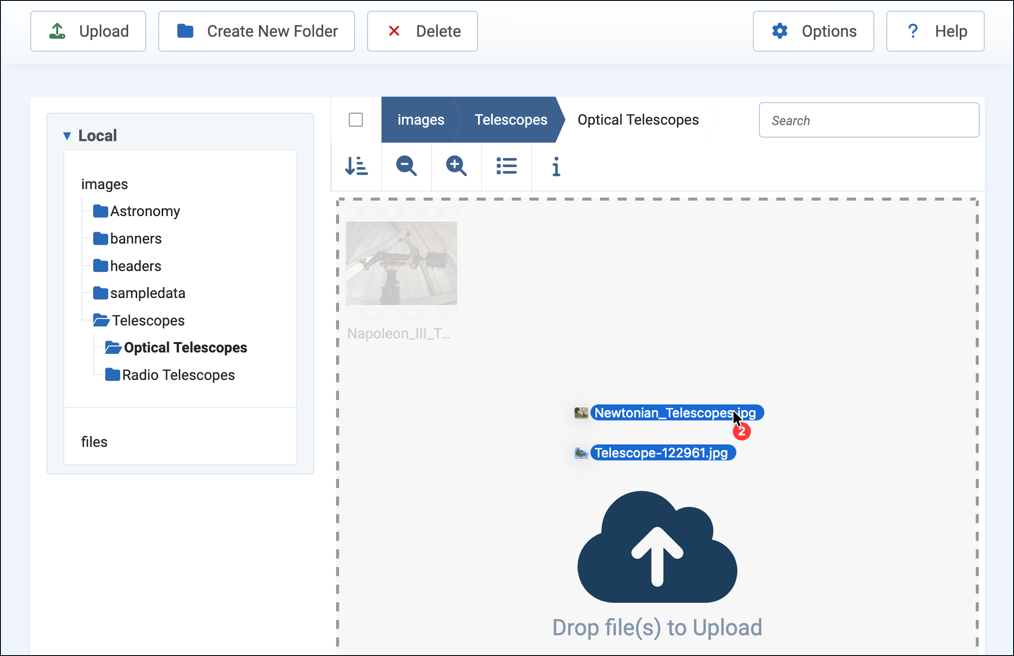
Dragging an image into the Optical Telescopes folder
Context Menu
An item's context menu is a small menu that applies to a single item. Hovering over the item will display an ellipsis icon in the upper-right. Clicking on this reveals the context menu.
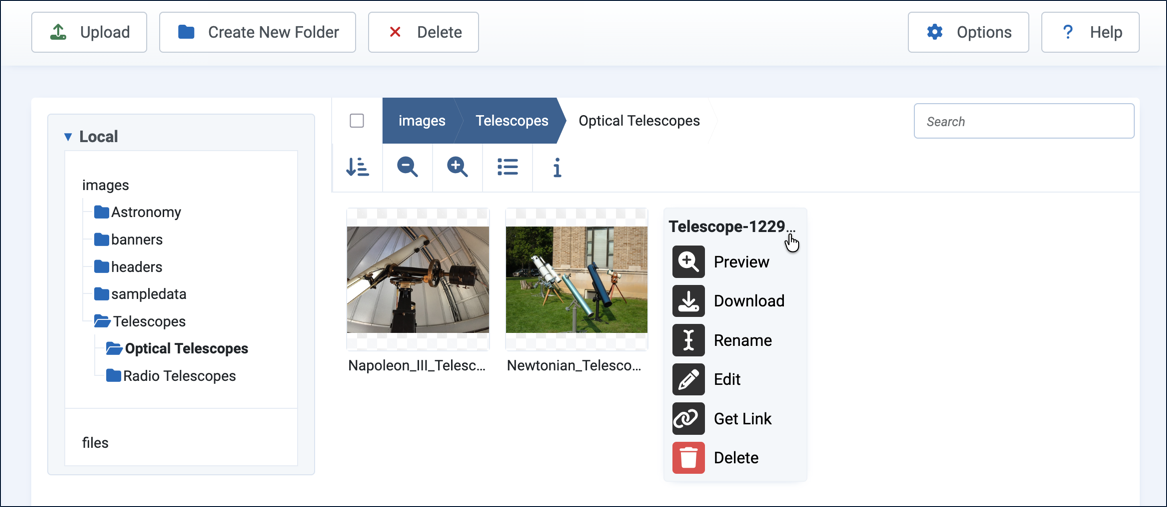
Resizing Images
For our upcoming article we want all our images to be 720 pixels (px) wide. This will reduce their file size so they download quickly, while maintaining a size and quality that will look great in our article.
Note: Edits to images in the Media component are immediate and irreversible. It is good practice to download a copy before editing.
- Download a copy of the image by selecting Download from the context menu.
- Edit an image by selecting Edit from the context menu. Result: An editing window appears with three tabs: Crop, Resize, and Rotate.
- Select Resize and adjust the width to 720 px, then click Save and Close.
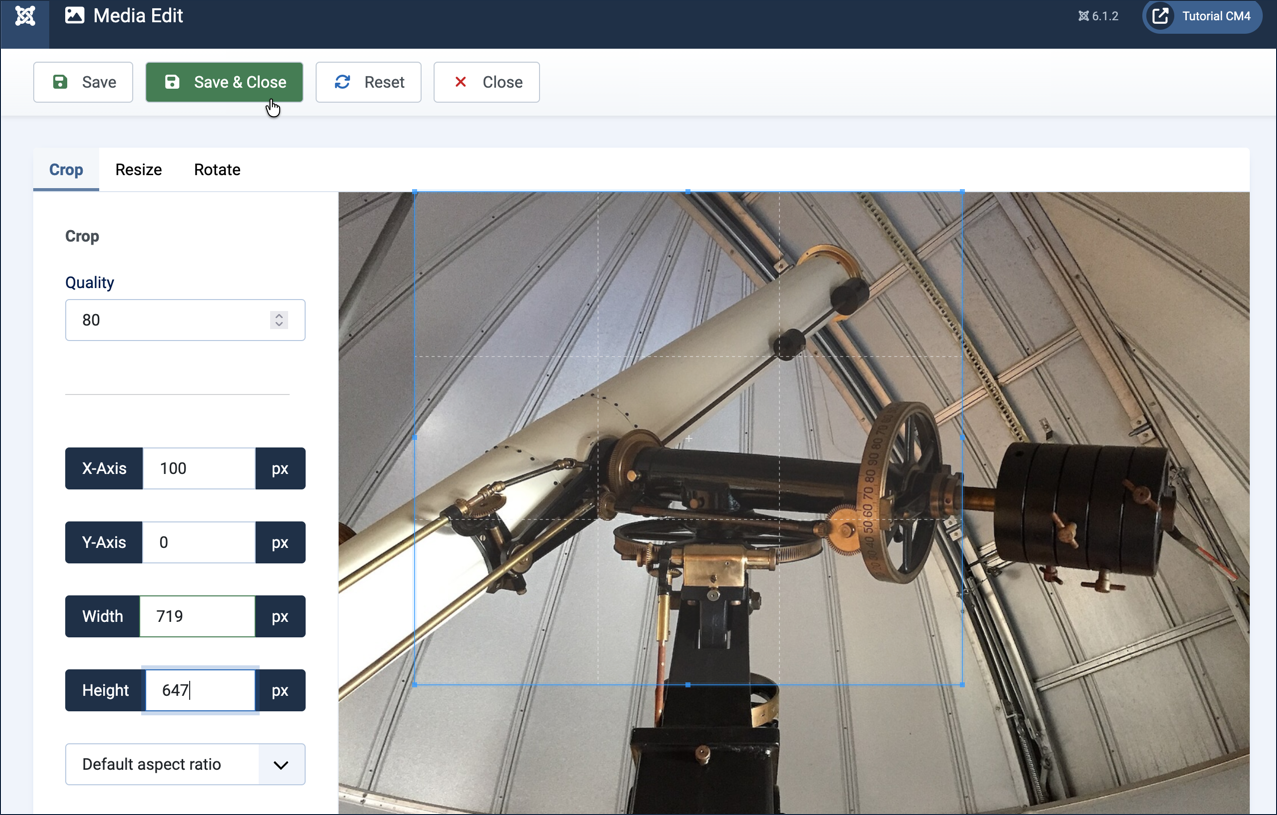
Resizing an image to 720px wide
Uploading Files
The Media component is used to manage different types of media, such as audio, video, PDF, spreadsheets, and more. For our tutorial we will upload a PDF file that will be used later on in an article.
- In the tree view click files, then create a folder, e.g. Telescopes.
- Click on the new folder.
- Upload the PDF you downloaded earlier by either using the Upload button at the top of the page, or by dragging and dropping. Result: The file appears in the content area.
- Rename the file to give it a friendly name. Select Rename from the context menu and enter a new name, Telescopes and Light.
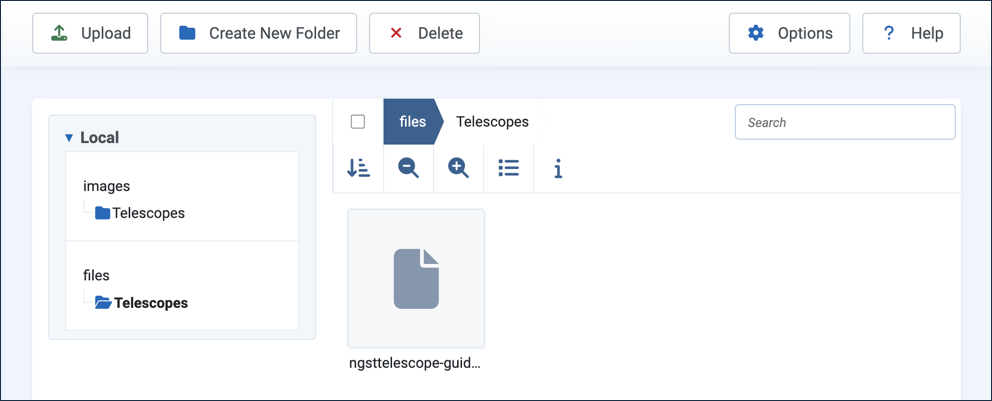
The uploaded, renamed PDF file - Click on the file and select Preview from the context menu. Result: The file opens in a pop-up frame.
The file and images are now uploaded to the website in an organised folder structure and readily available for use in articles and other content using the Media component, as we'll see in other tutorials.
Concepts
The Media component provides a convenient and easy way to upload and organise images and files that are used in the website.
Media is stored separately from articles on the website. It can be invoked from within an article to easily add content, as will be demonstrated in other tutorials.
Images can be edited, but will be instantly and irreversibly altered. Images may be downloaded prior to editing. A comprehensive media strategy might include maintaining original images offsite and making edits prior to uploading.
Attribution
Images and files used in this tutorial are in the public domain and are available at the Wikimedia Commons website and the NASA public website.
